PROJECT 14
February 2004
RESTORING A MO MOTOR
Recently I was given an early MO motor that would not run.
Thought it would be interesting to see how these motors are put together and what is inside
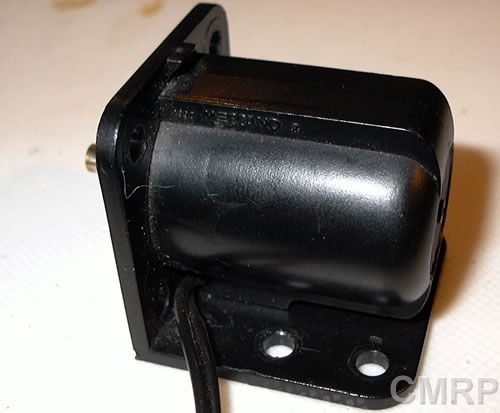
View of the engine before starting.
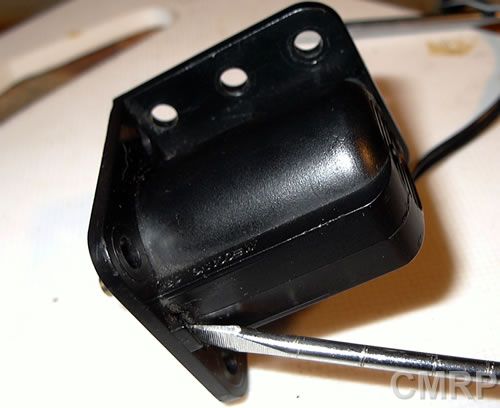
First split the case using a flat screwdriver levered against the lip of the front case and the rear case.
Once the cases separate, pull the rear case horizontally away from the front, taking
care not to damage the locating tab at the bottom of the front case.
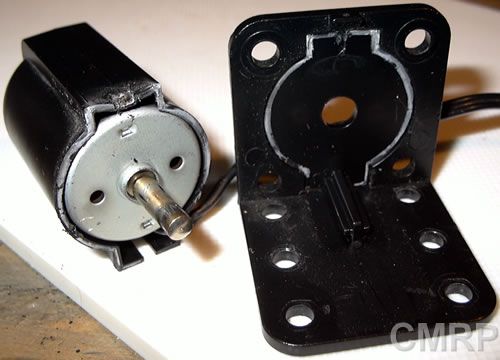
Pull the Mabuchi Motor out of the rear case and remove the End Bell by bending
the two retaining tabs on the can straight.
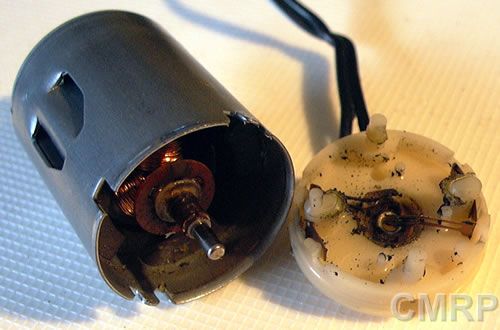
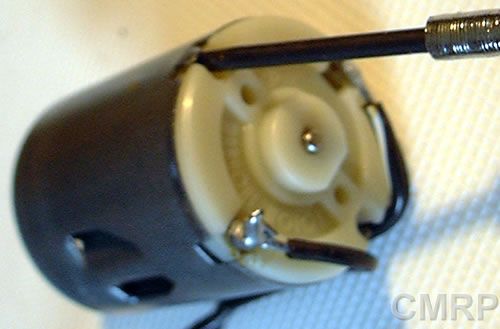
In this shot you can see that the brushes are totally worn away. These brushes
are made from copper and do not have carbon heads.
The copper brushes rub directly against the commutator.
This is not ideal, but makes for a cheap, mass produced multipurpose motor.
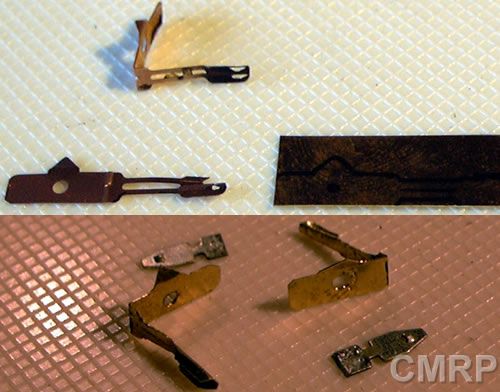
I de-soldered the brushes and flattened them out. I traced them onto a piece of copper plate of the same
thickness as the brushes, cut them out and bent them to match.
Above is the original brushes.
Below is the repro brushes, ready to be inserted.
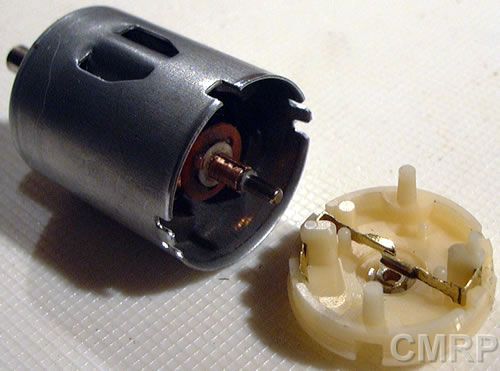
Everything is now cleaned, polished and ready to be reassembled
Insert the new brushes into the End Bell and solder the wires back on. I gave the commutator a polish.
I used small drops of plastic glue on the join faces to reassemble the motor. (Test the motor before you do this)!
I gave it a test run and am pleased to announce that it is ready for action!