PROJECT 3
August 2002
This project was done with the help of my brother Anthony Els. He did the scanning of the original cutout and the digital enhancement using Photoshop Pro.
In the 80's we bought a small container truck Action Pack. Ref
Datafiles 4.3, Meccano, the first century, book 3, pg 120 by John Lavens
published by MW models.
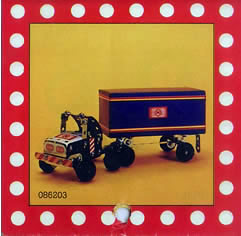
The model was a Kenworth lorry with the container
being made from a colored cardboard cutout that you glued together.
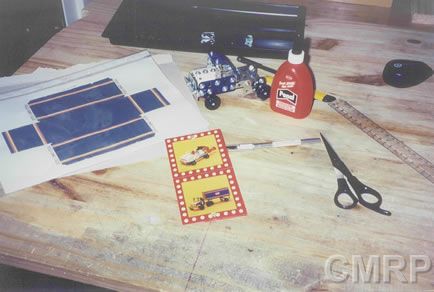
Scan of the Meccano leaflet of the lorry for those who don't believe that Meccano included cardboard in any of their sets!
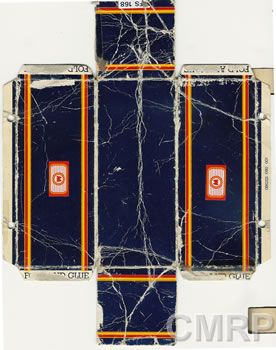
The original (well used and abused)
cardboard cutout before digital enhancement!
You can see creases, tears and cellotape marks all over, to
restore this would be almost impossible.
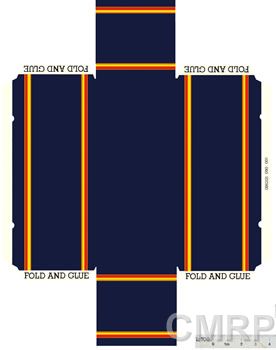
The digitally enhanced cardboard cutout.
SCANNING
Anthony scanned the image on his flatbed scanner at the highest
resolution it could go.
Using Photoshop Pro, Anthony zooms in on the image, matches the color and colors
in the areas needing touching up pixel by pixel.
It sounds complicated, but it is actually quite easy although time consuming.
Click here to download the full image to recreate the model. It is a zipped .bmp file, 341 KB so it will take a while to download!
PRINTING
Before printing out a full color print, print out a test copy in
black to get the dimensions correct.
The width of the flat printed container from tab ends, not the page is : 19 cm
The length of the flat printed container from ends, not the page is : 24.5 cm
Anthony printed
me a final color cutout with his HP Office Jet G95 Series color bubble jet printer.
Printer quality
was set to photographic quality to print onto a sheet of Kodak photo print paper for
bubble jets. The
result is true color with a photo finish. I was very pleased with
the result.
GLUING
Once I had the printout I began building the model.
First I carefully cut out the container from
the printed page.
Next I traced the cutout over a
piece of medium thickness cardboard and cut it out .(Corn flakes cereal box was
used in this project !).
I bent all the folds first on the printout using a ruler. Make
sure you have clean, dry hands first or you will smudge the ink on the paper.
I used a Stanley knife to lightly trace over the folds of the cardboard before
folding it. Do the cut on the opposite side of the bend. This makes the bend
straighter and an exact 90 degrees.
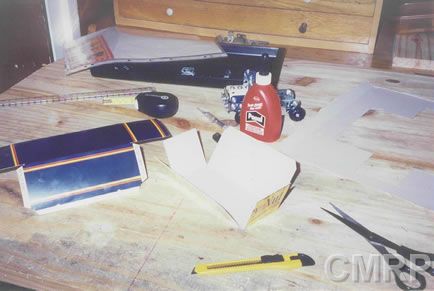
Next, using wood glue and a butter knife, I glued the top sections to each other, followed by the sides and then the ends.
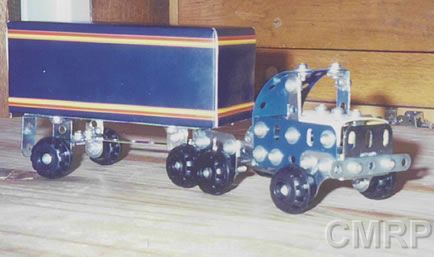
The final model, built purely for sentimental reasons!