PROJECT 4
September 2002
REPAIRING AND RESTORING A 1970'S MAMOD MINOR 2 STEAM ENGINE
Stripping, cleaning and repainting
Reassembly
Once all the parts were polished, I soldered the steam pipe back on.
There might be better ways, but this way worked for me :
Spread flux on only the areas that you want to get covered with
solder.
Cut a very small piece of solder off and balance it on the
solder area. I used plumbers pipe joining solder that does not have flux in its
core.
Turn on the torch and heat up the piece of solder, It quickly
turns into a round ball and the flux starts to bubble. After 3 to 4 seconds, the
solder collapses and runs into the areas that you spread flux onto. That's it!
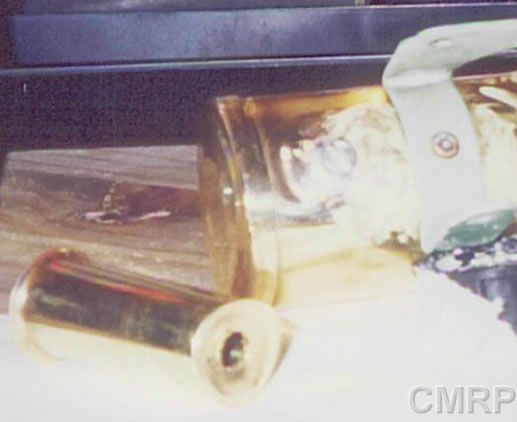
Next, I put a stainless steel machine screw into the hole left
by the chimney rivet. I soldered it in as well.
I filed out the hole in the bottom of the chimney to the size of
the screw head. and used metal putty to fix it to the boiler.
I
chose this method, as I was not willing to take the boiler end off to rivet it
back on. I don't have the experience to do this, and I felt that this way was
not very obvious to casual inspection.
Picture of the screw soldered into chimney hole. You can also see the widened hole in the base of the chimney.
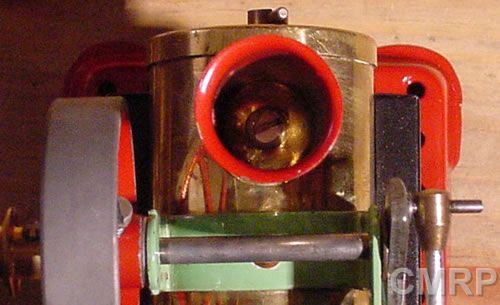
View looking down the chimney after being glued on.
Before gluing the chimney back on, I pressure tested the boiler using compressed air, and an adaptor that screws into overflow plug on the boiler end. I was very pleased that pressure held, on my very first solder job!
I gave the boiler a final hand polish and put everything back together.
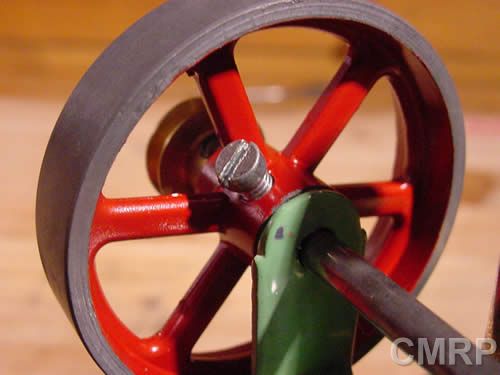
View of the flywheel reattached and the tap job I did on it.
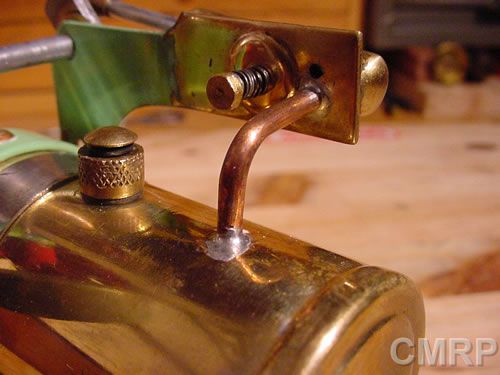
Close-up of the solder job on the steam pipe.

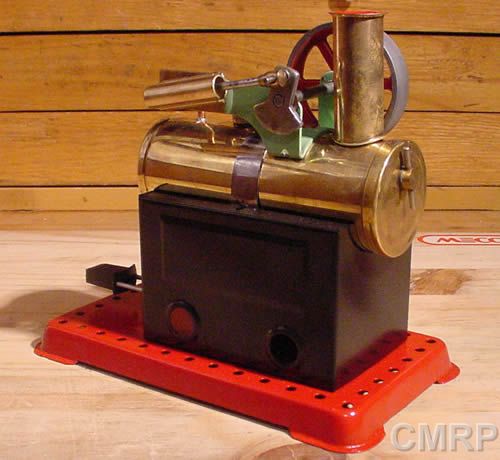
My final effort. It looks great and this project gave me a huge amount of satisfaction.
STRIPPING_CLEANING_&_ REPAINTING HOME PROJECTS