PROJECT 5
October 2002 - January 2003
REPAIRING AND RESTORING A 1970'S MECCANO SP3 STEAM ENGINE
Stripping, cleaning and refurbishing
Reassembly
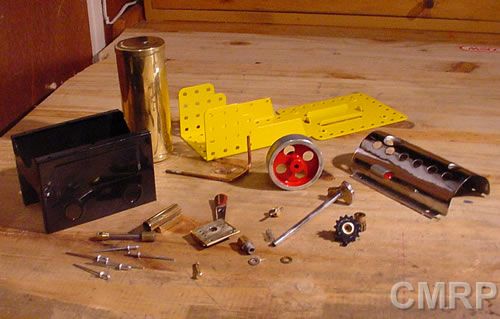
All the parts ready for assembly. Even the 14 tooth sprocket was prepped and resprayed.
These are all the original parts from the motor refurbished, even the grub screws.
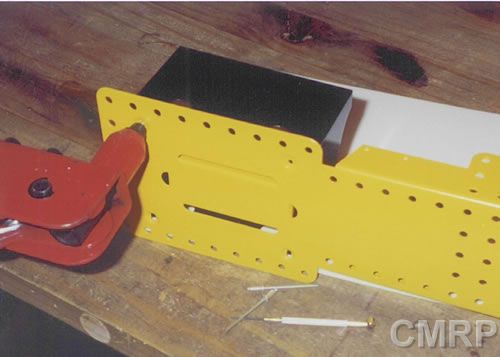
I began reassembly by pop riveting the firebox to the base. 3mm pop rivets were used.
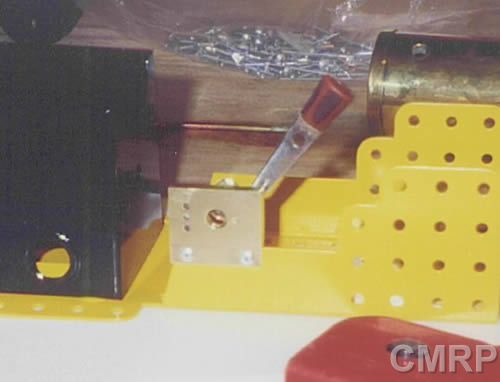
The control lever pop-riveted on.
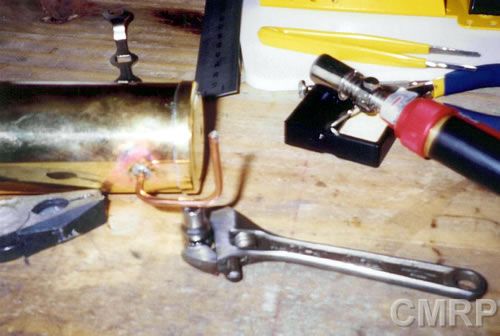
Soldering the steam pipe to the boiler. Notice how the brass goes pink around the solder
join. It goes away with a little polishing.
I pressure tested the solder job using compressed air. I tapped an adaptor that fits into the overflow hole of the Mamod boilers.
It fits all Mamod steam engines, all the way from a Minor 1 to a SE3. It is a great way to run the engines as well.
I filled the boiler with boiling water, left it to expand and then did the test.
Luckily it passed.
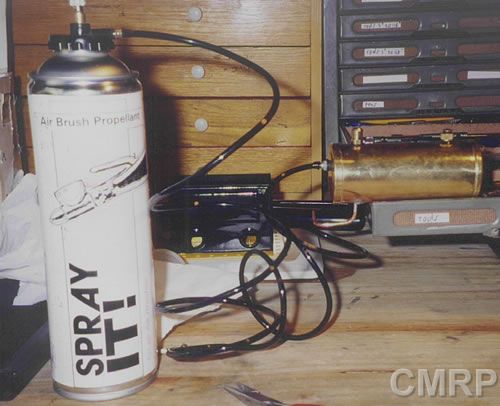
Pressure testing the solder job using compressed air.
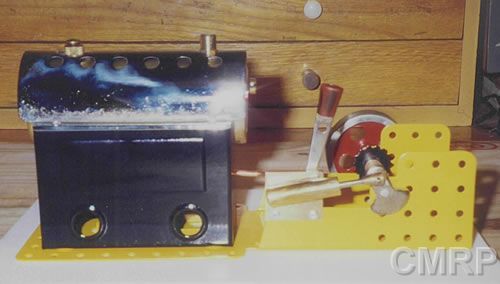
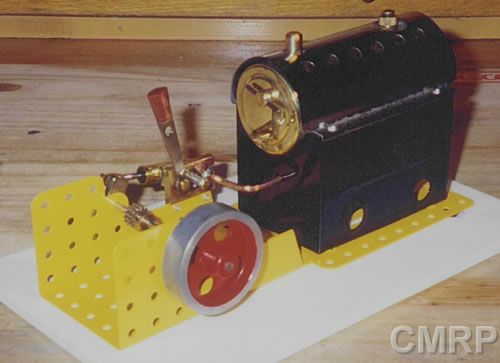
Fully assembled and ready to run. This project was by far my biggest learning curve.
Some facts and advice on these motors :
Boiler capacity = 160 cm3
Boiler pressure = 1.13 bar
Do NOT use thin oils like sewing machine oil. The water washes it away quickly and causes premature wear.
Use motor car engine oil on moving parts. S.A.E 20/30 is recommended.
STRIPPING_CLEANING_&_ REBURBISHING HOME PROJECTS