PROJECT 9
July 2003
RESTORING A HORNBY HOBBIES STEPHENSONS ROCKET
Starting Repairs.
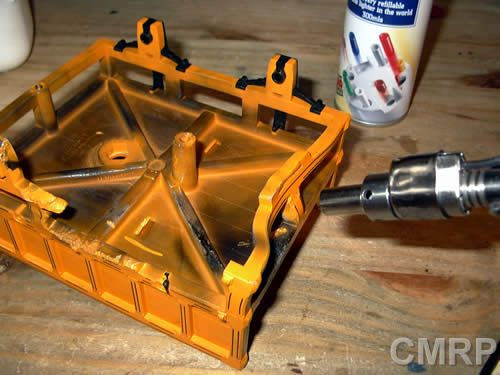
Using a butane torch with a heat attachment, I began to slowly melt the plastic.
Once the plastic became soft, I moved it back into position as best as possible.
I dipped the tender into cold water to set the plastic and moved onto different areas.
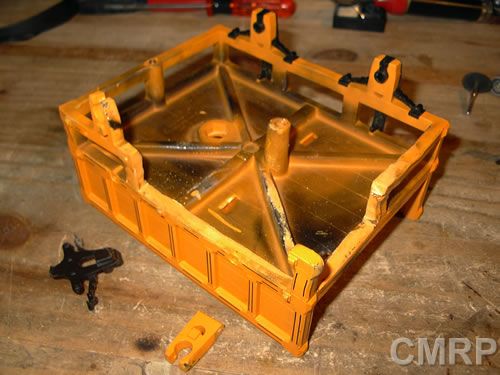
Totally damaged parts are now cut away and salvageable parts straightened.
Bulging surfaces have been filed flat again.
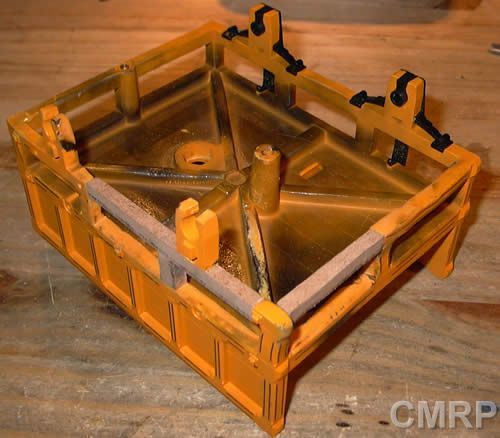
Replacement parts were cut from superwood to size. They have been glued in
place using epoxy.
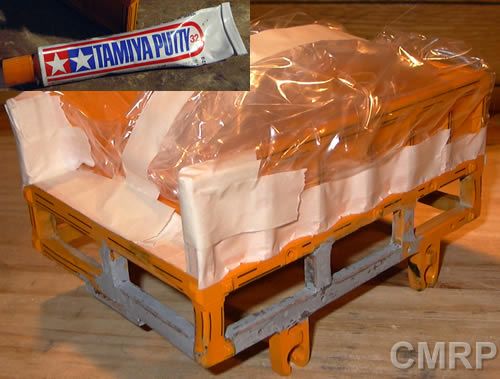
The top half of the tender has been masked off. I carefully paint matched the colors
by mixing, painting a test piece, waiting for it to dry and then making adjustments.
I used Tamiya orange (X-6) and Tamiya flat white (XF-2) mixed together.
Note the use of plastic modeling putty. I used it to smooth off the wood as it is very
paint absorbent, as well as to fill in any pits in the surfaces.
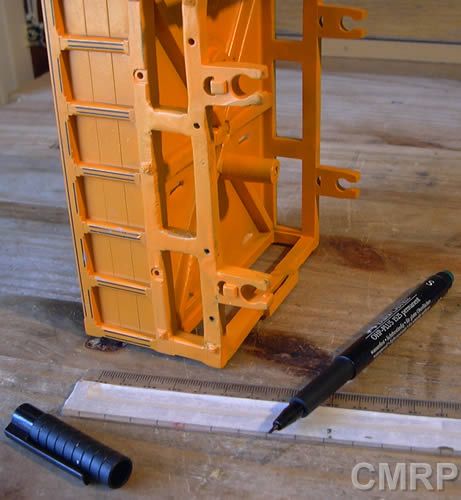
Once two coats had been applied and dried, I drew the lines back on using a
fine point, felt tipped, black permanent marker and a ruler.
Place a strip of masking tape 1mm away from the edge of the ruler to stop
the marker fluid from creeping under the ruler and spoiling the job.